Having a space to work from makes life so much easier when you are jewellery smithing. Over the years, I think I’ve created every possible version of a workspace, from a side table in a hallway closet to a door sitting on a couple of saw-horses. When I finally had a small space to call my workshop, I worked from an old hand me down pine table. It was too low and too deep, but it worked, mostly. The downside of course was that I had to adapt to the table rather than the table working for me.
So when I finally decided I really needed a proper bench, I was underwhelmed with most of the benches available plus they were really expensive for what you got. It really seemed like an opportunity to make my own that would meet my needs and since I am a recycler at heart, re-using materials that I already had or could find. So I started by asking myself a few questions:
- What were my needs, and what did I want from a bench.
- How big?
- How much storage?
- I had to think about how I currently worked, and what would make life easier now and possibly in the future. I knew I would be using Benchmate tools so I had to consider that.
- General build considerations.
- I needed a bench that was higher than a table. One of the main reasons is to keep you from hunching over and killing your back. The rule of thumb is your benchpin should sit broadly at chest height. So I needed to onsider how to achieve that.
- Did I have the building skills? The tools? Luckily my husband has a cavern of tools. And is quite handy at buidling things and taking direction ;o)
- And costs, how much did I want to spend?
- What can I recycle? get for free? From the tip, car boot, freecycle, gumtree and EBay? etc.
- What can I repurpose? I’m a magpie so I see everything as having a secondary use.
I surfed online to get some ideas as well and found loads of inspiration. Once I had my bits, it was time to build it. I will admit I had help from my husband and his cavern of tools. But I was thrilled with the way it turned out.
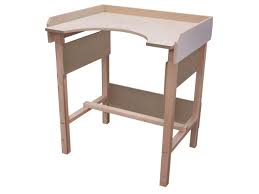
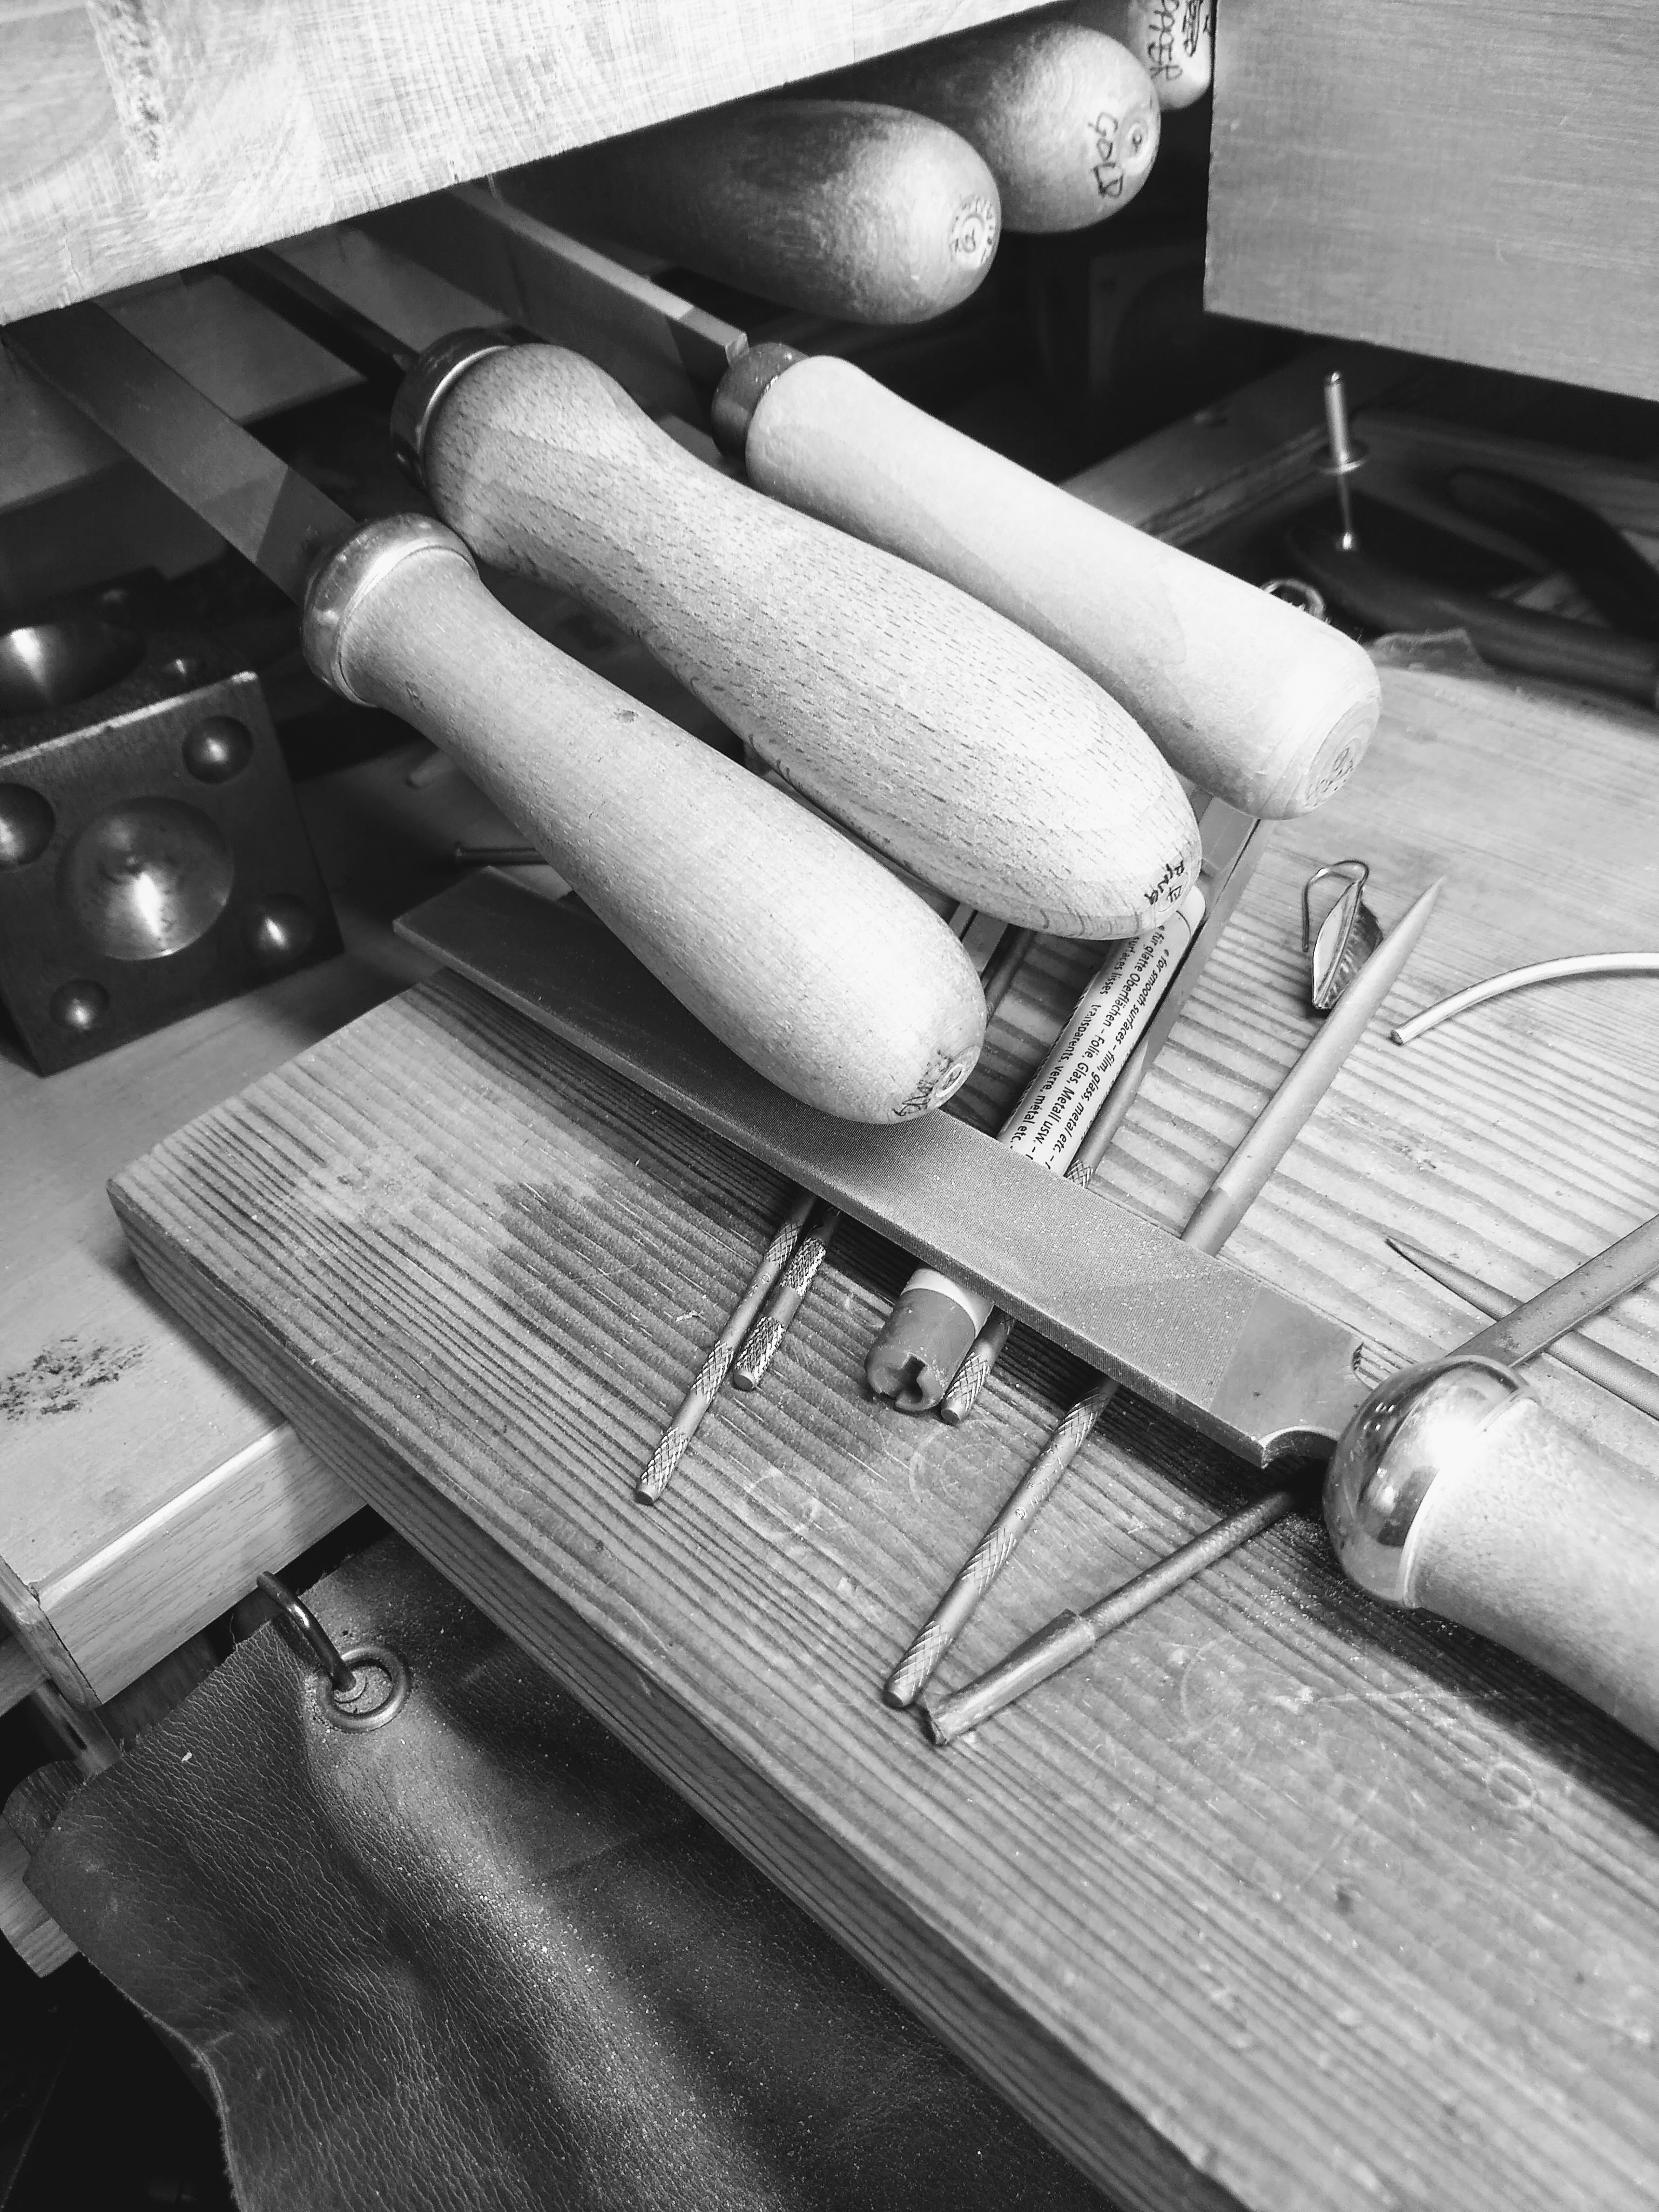
I went with a modified European style bench with a square cutout front instead of a half moon. The lower desk slides back to reveal the benchskin so when I am piercing, the filings drop into it. I also have several slots at the left just under the top for my hand files so they are always to hand.
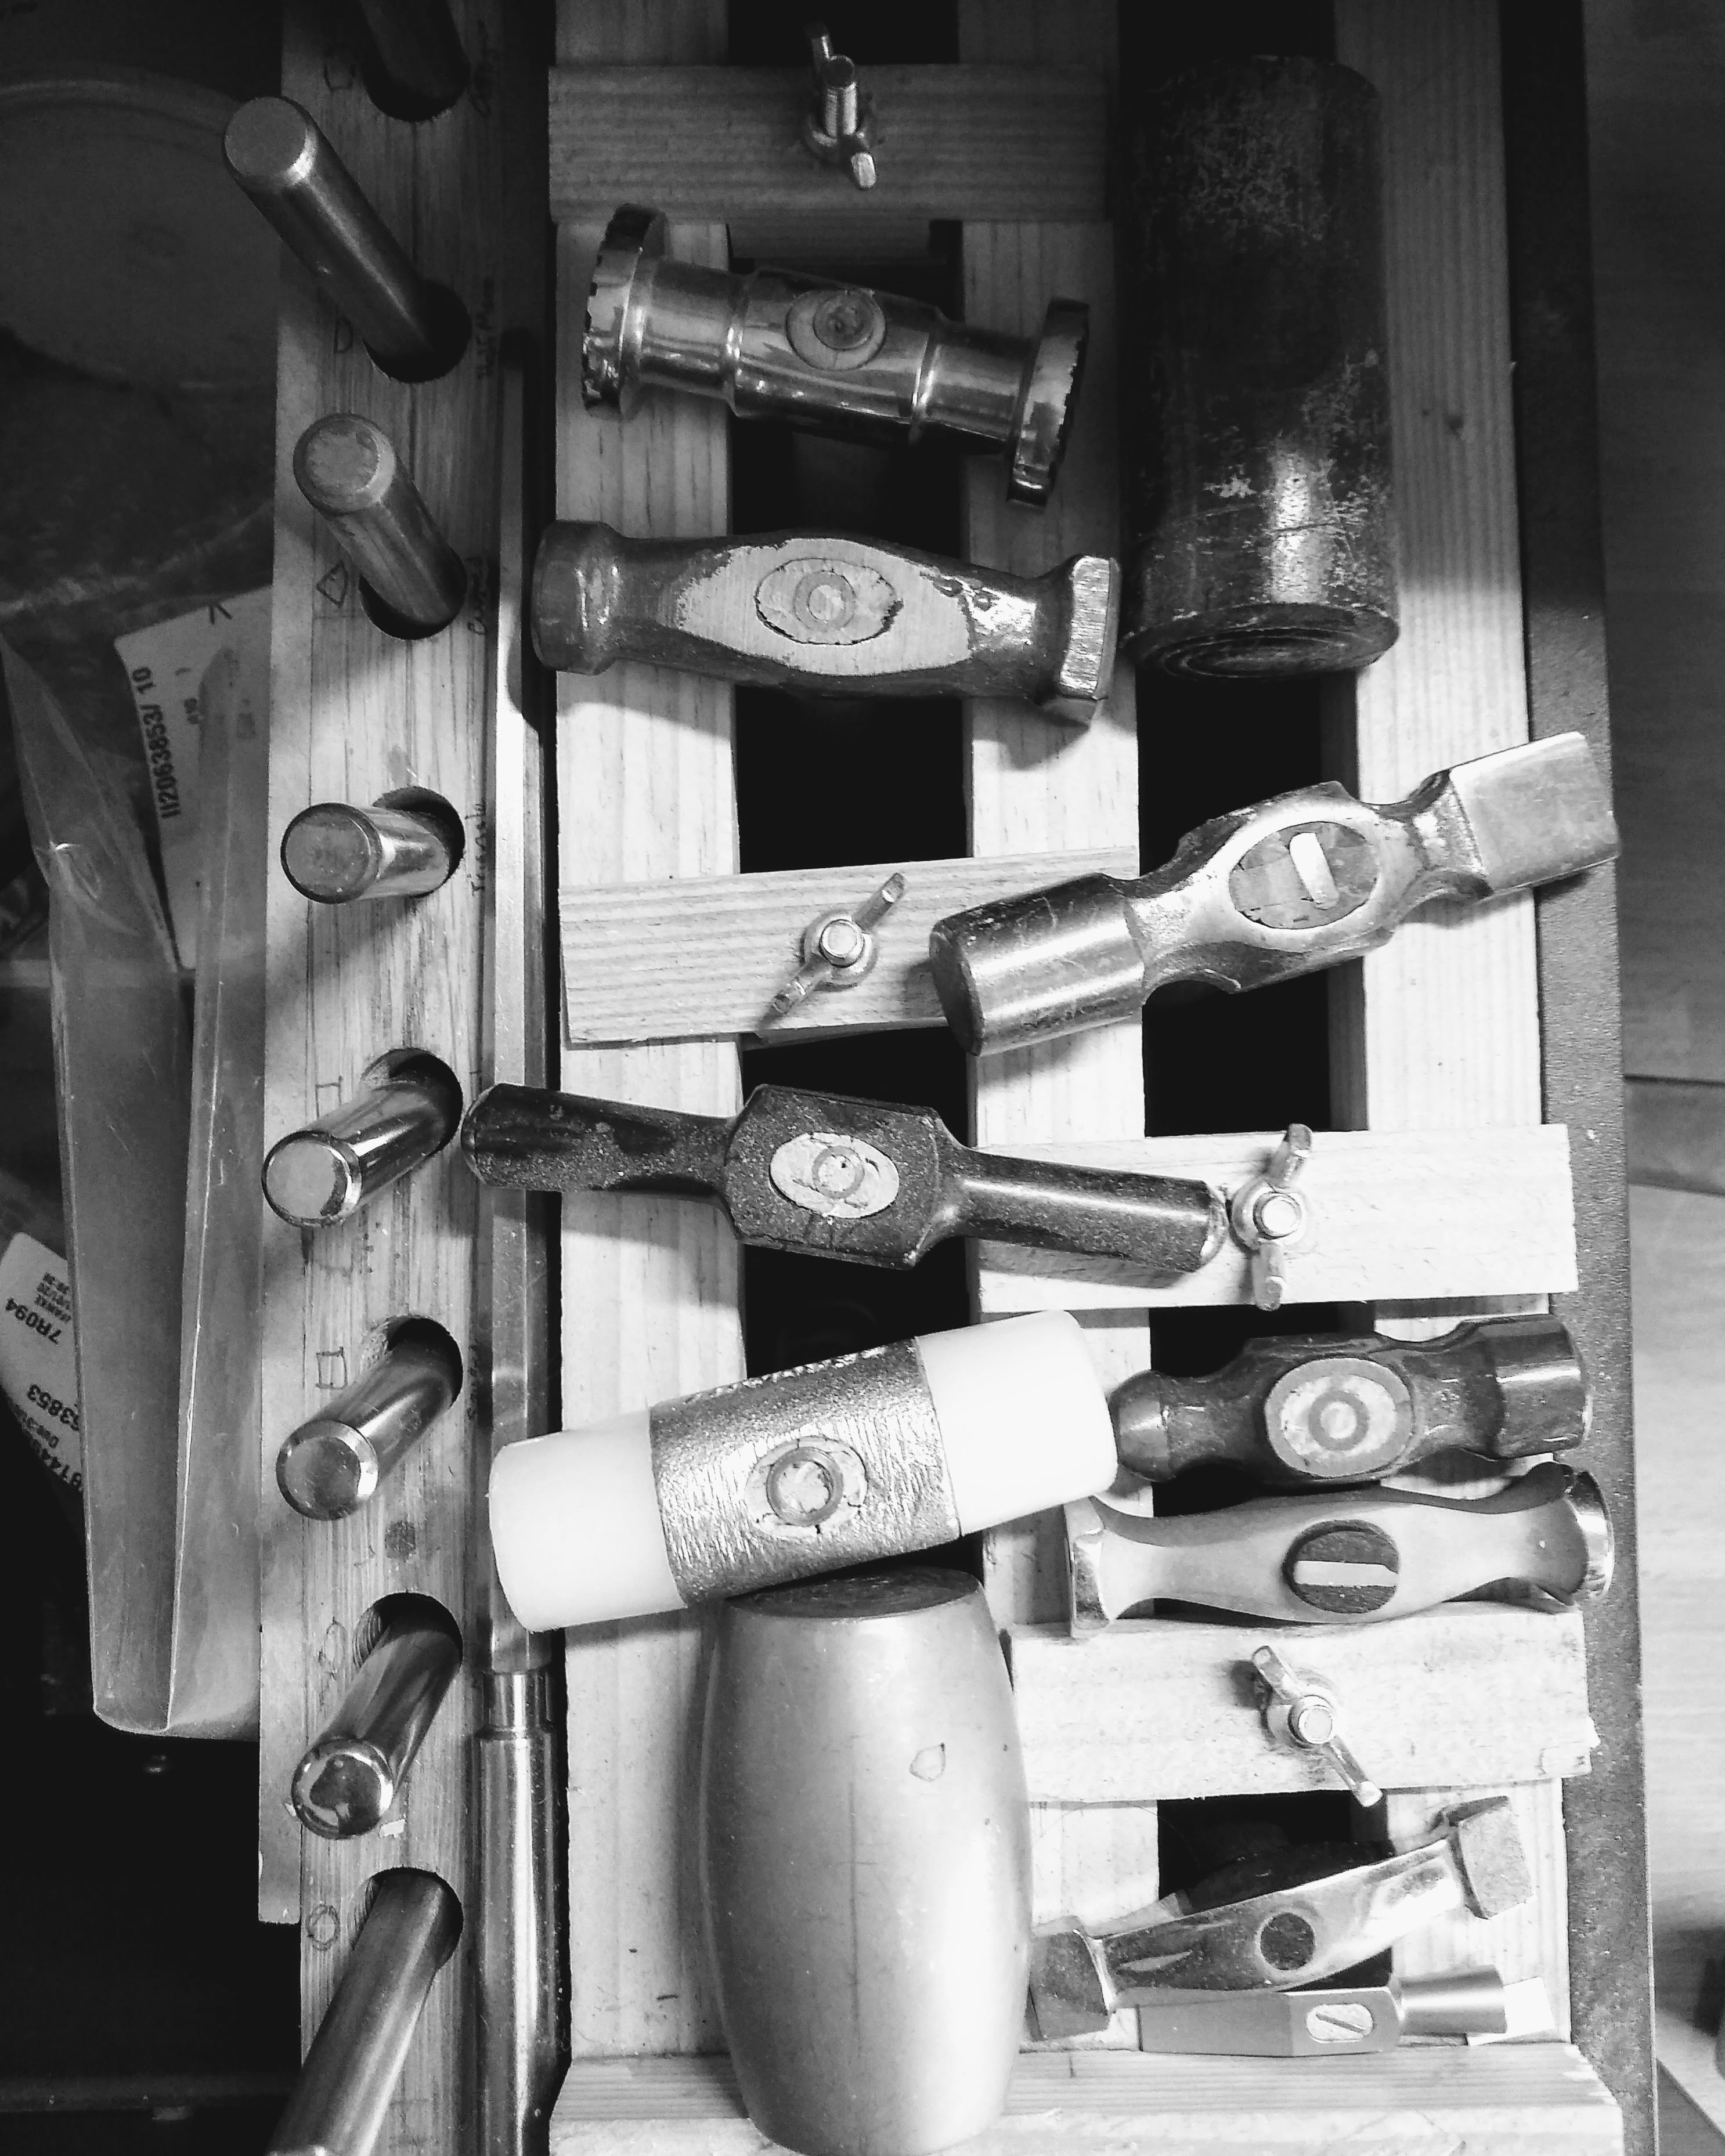
I had holes cut into the front of one of the pedestals and lined them with leftover bits of pvc pipe to store my sanding sticks and I used the file drawer at the bottom to store my hammers and mandrels by making a simple frame to drop them into. Every piece of the table was used including the legs which act as risers for the top of the bench. And the new bench also has pieces of my old table in there as well.
After all was said and done, I got the bench I wanted for just under £30 in materials. Here’s what I used:
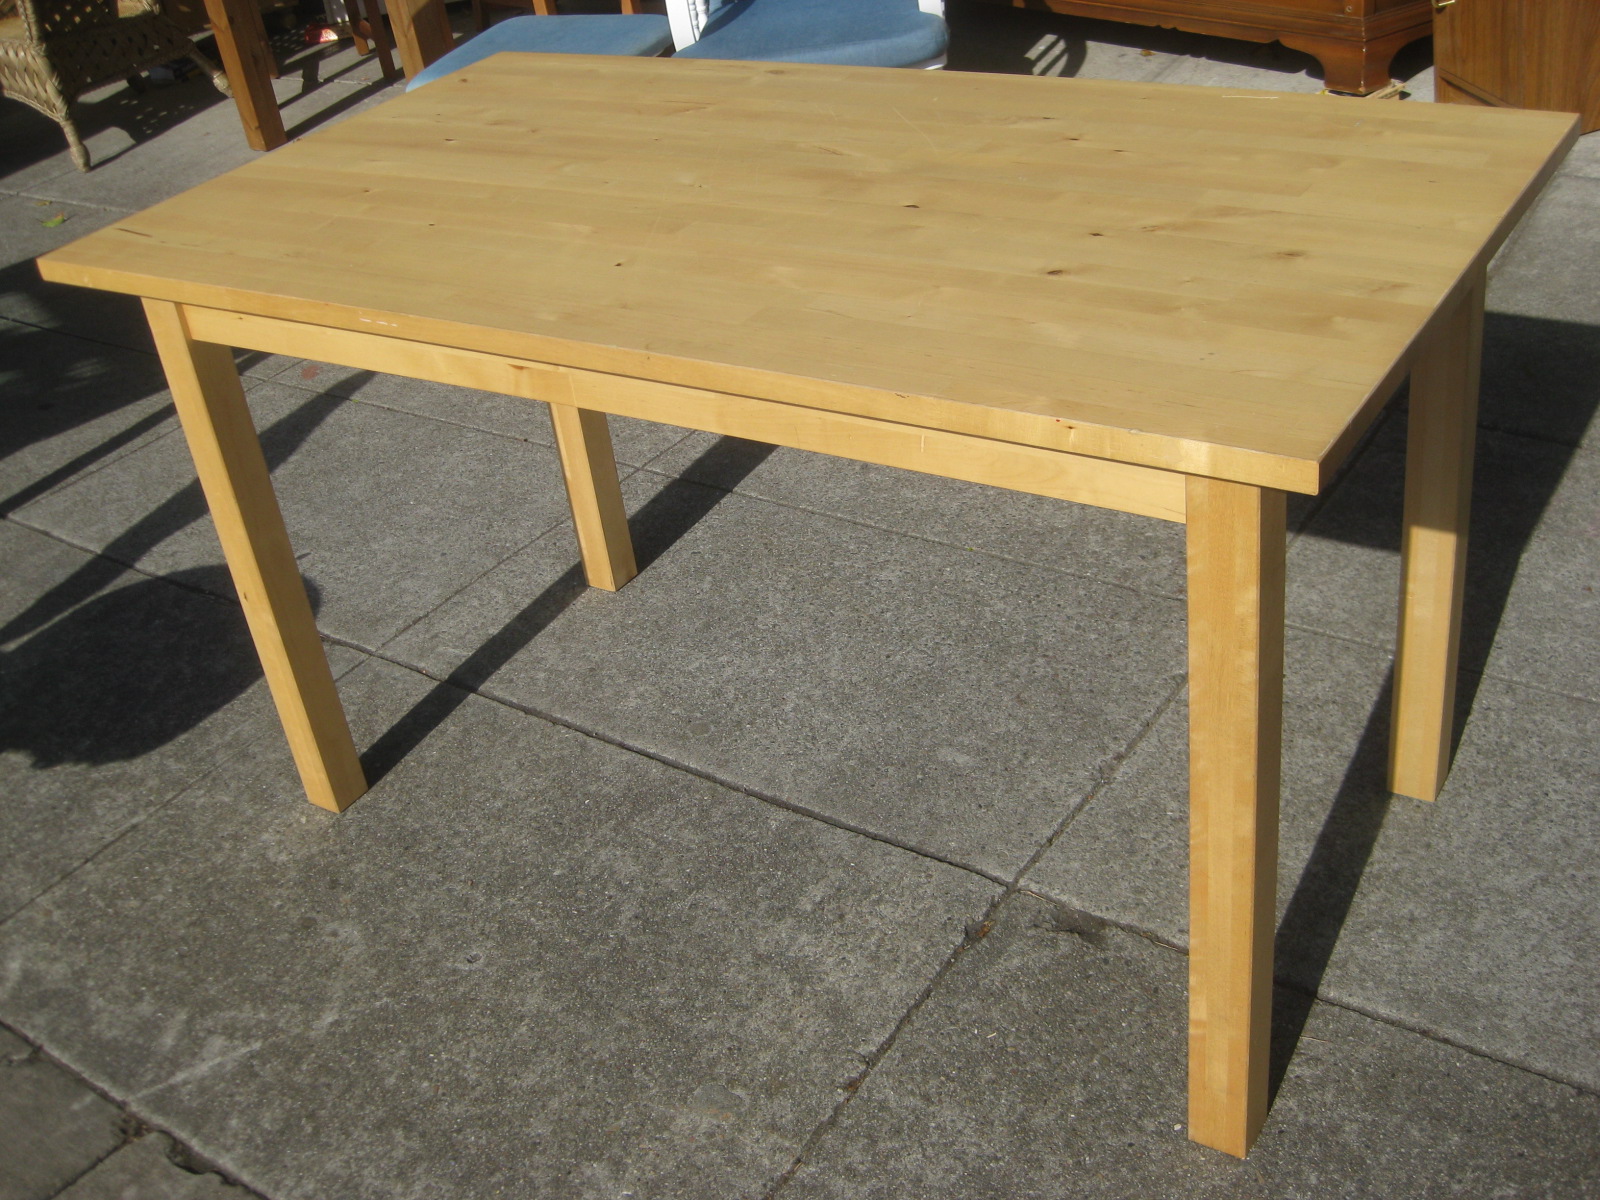
- solid wood Ikea table that I found on my local Freecycle – £0.
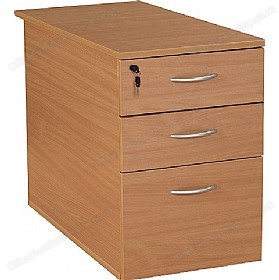
- two used wood desk pedestals from an office clearance I found on Gumtree- £0.
- PVC pipe that was knocking around the garage – £0
- A piece of leather offcut and eyelets from eBay for my benchskin – £12.
- Metal drawer slides and misc hardware from Screwfix – £17.
- Oh and my one indulgence was my saddle seat that’s not included in my bench build costs – £16 from eBay
I was thrilled with the outcome, I got my perfect bench, that perfectly fits my needs and my space

at a fraction of the cost of buying one. And I did it by recycling materials that were destined for the tip! Win-Win! Since the benh was made, I’ve added a dedicated soldering station and metalworking station, as well, using the same principles. So I’m a happy jeweller!
I’d love to hear about your unique builds, so pop them into the comments! Thanks for visiting!